MacOS-dotfiles
6 min
MacOS下的一些dotfiles及软件分享
(部分配置文件可在以下仓库中找到)
Loading repository data...
homebrew-软件包管理器
伟大无须多言
/bin/bash -c "$(curl -fsSL https://raw.githubusercontent.com/Homebrew/install/HEAD/install.sh)"iTerm2-经典好用终端
brew install iterm2- 壁纸
- 字体(下载好后在终端设置里启用即可)
brew install font-maple-mono-nf-cnclash-verge-rev-科学且明智地使用互联网
brew install clash-verge-rev配置文件请自行寻找
oh-my-zsh + starship-shell插件与美化
设置默认终端为zsh(注意:不要使用sudo)
chsh -s /bin/zsh安装oh-my-zsh
# via curl sh -c "$(curl -fsSL https://raw.githubusercontent.com/ohmyzsh/ohmyzsh/master/tools/install.sh)" # via curl(国内镜像) sh -c "$(curl -fsSL https://gitee.com/pocmon/ohmyzsh/raw/master/tools/install.sh)" # via wget sh -c "$(wget https://raw.githubusercontent.com/ohmyzsh/ohmyzsh/master/tools/install.sh -O -)" # via wget(国内镜像) sh -c "$(wget -O- https://gitee.com/pocmon/ohmyzsh/raw/master/tools/install.sh)"安装插件(更多插件)\
plugins=(
git
brew
z
extract
you-should-use
zsh-syntax-highlighting
zsh-autosuggestions
)
如何启用插件: 编辑 ~/.zshrc (可用vim:vim ~/.zshrc) , 找到plugins=() , 填入对应内容即可
- git(内置)
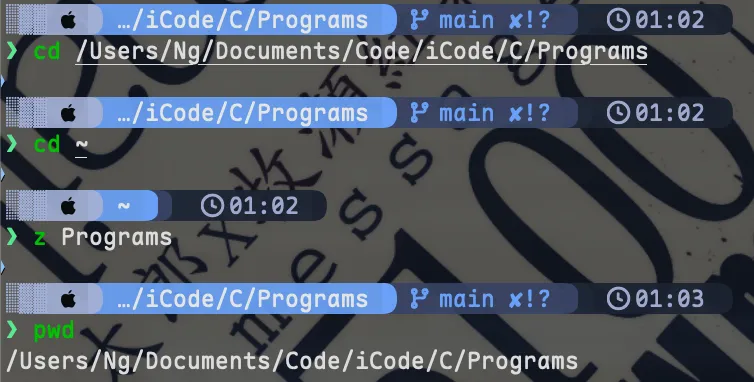
- z(内置) z 是一个文件夹快捷跳转插件,对于曾经跳转过的目录,只需要输入最终目标文件夹名称,就可以快速跳转,避免再输入长串路径,提高切换文件夹的效率。
- extract(内置) 无需根据压缩文件的后缀来记忆解压命令,使用“x”解压即可
- brew(内置) 提供 brew 命令的 alias (例如:
bubu= brew update && upgrade && cleanup) - you-should-use (需安装)当你输入长命令时,会提示你该命令已被设置为别名(alias),帮你建立快捷键记忆。
brew install zsh-you-should-use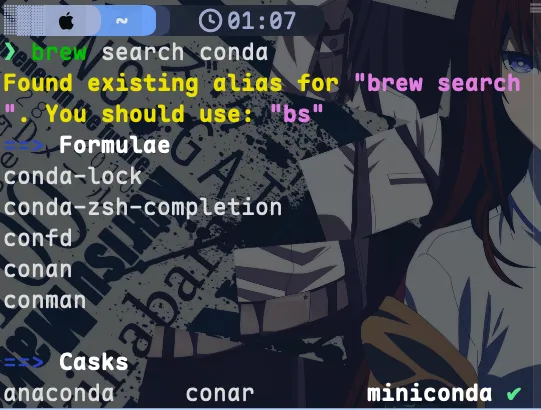
- zsh-syntax-highlighting (需安装)命令语法高亮,输入正确命令显示绿色,错误显示红色。
brew install zsh-syntax-highlighting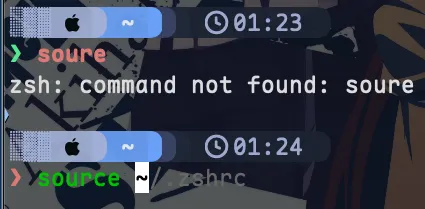
- zsh-autosuggestions (需安装)根据历史记录自动补全命令(灰色提示,按右箭头补全)。
brew install zsh-autosuggestions
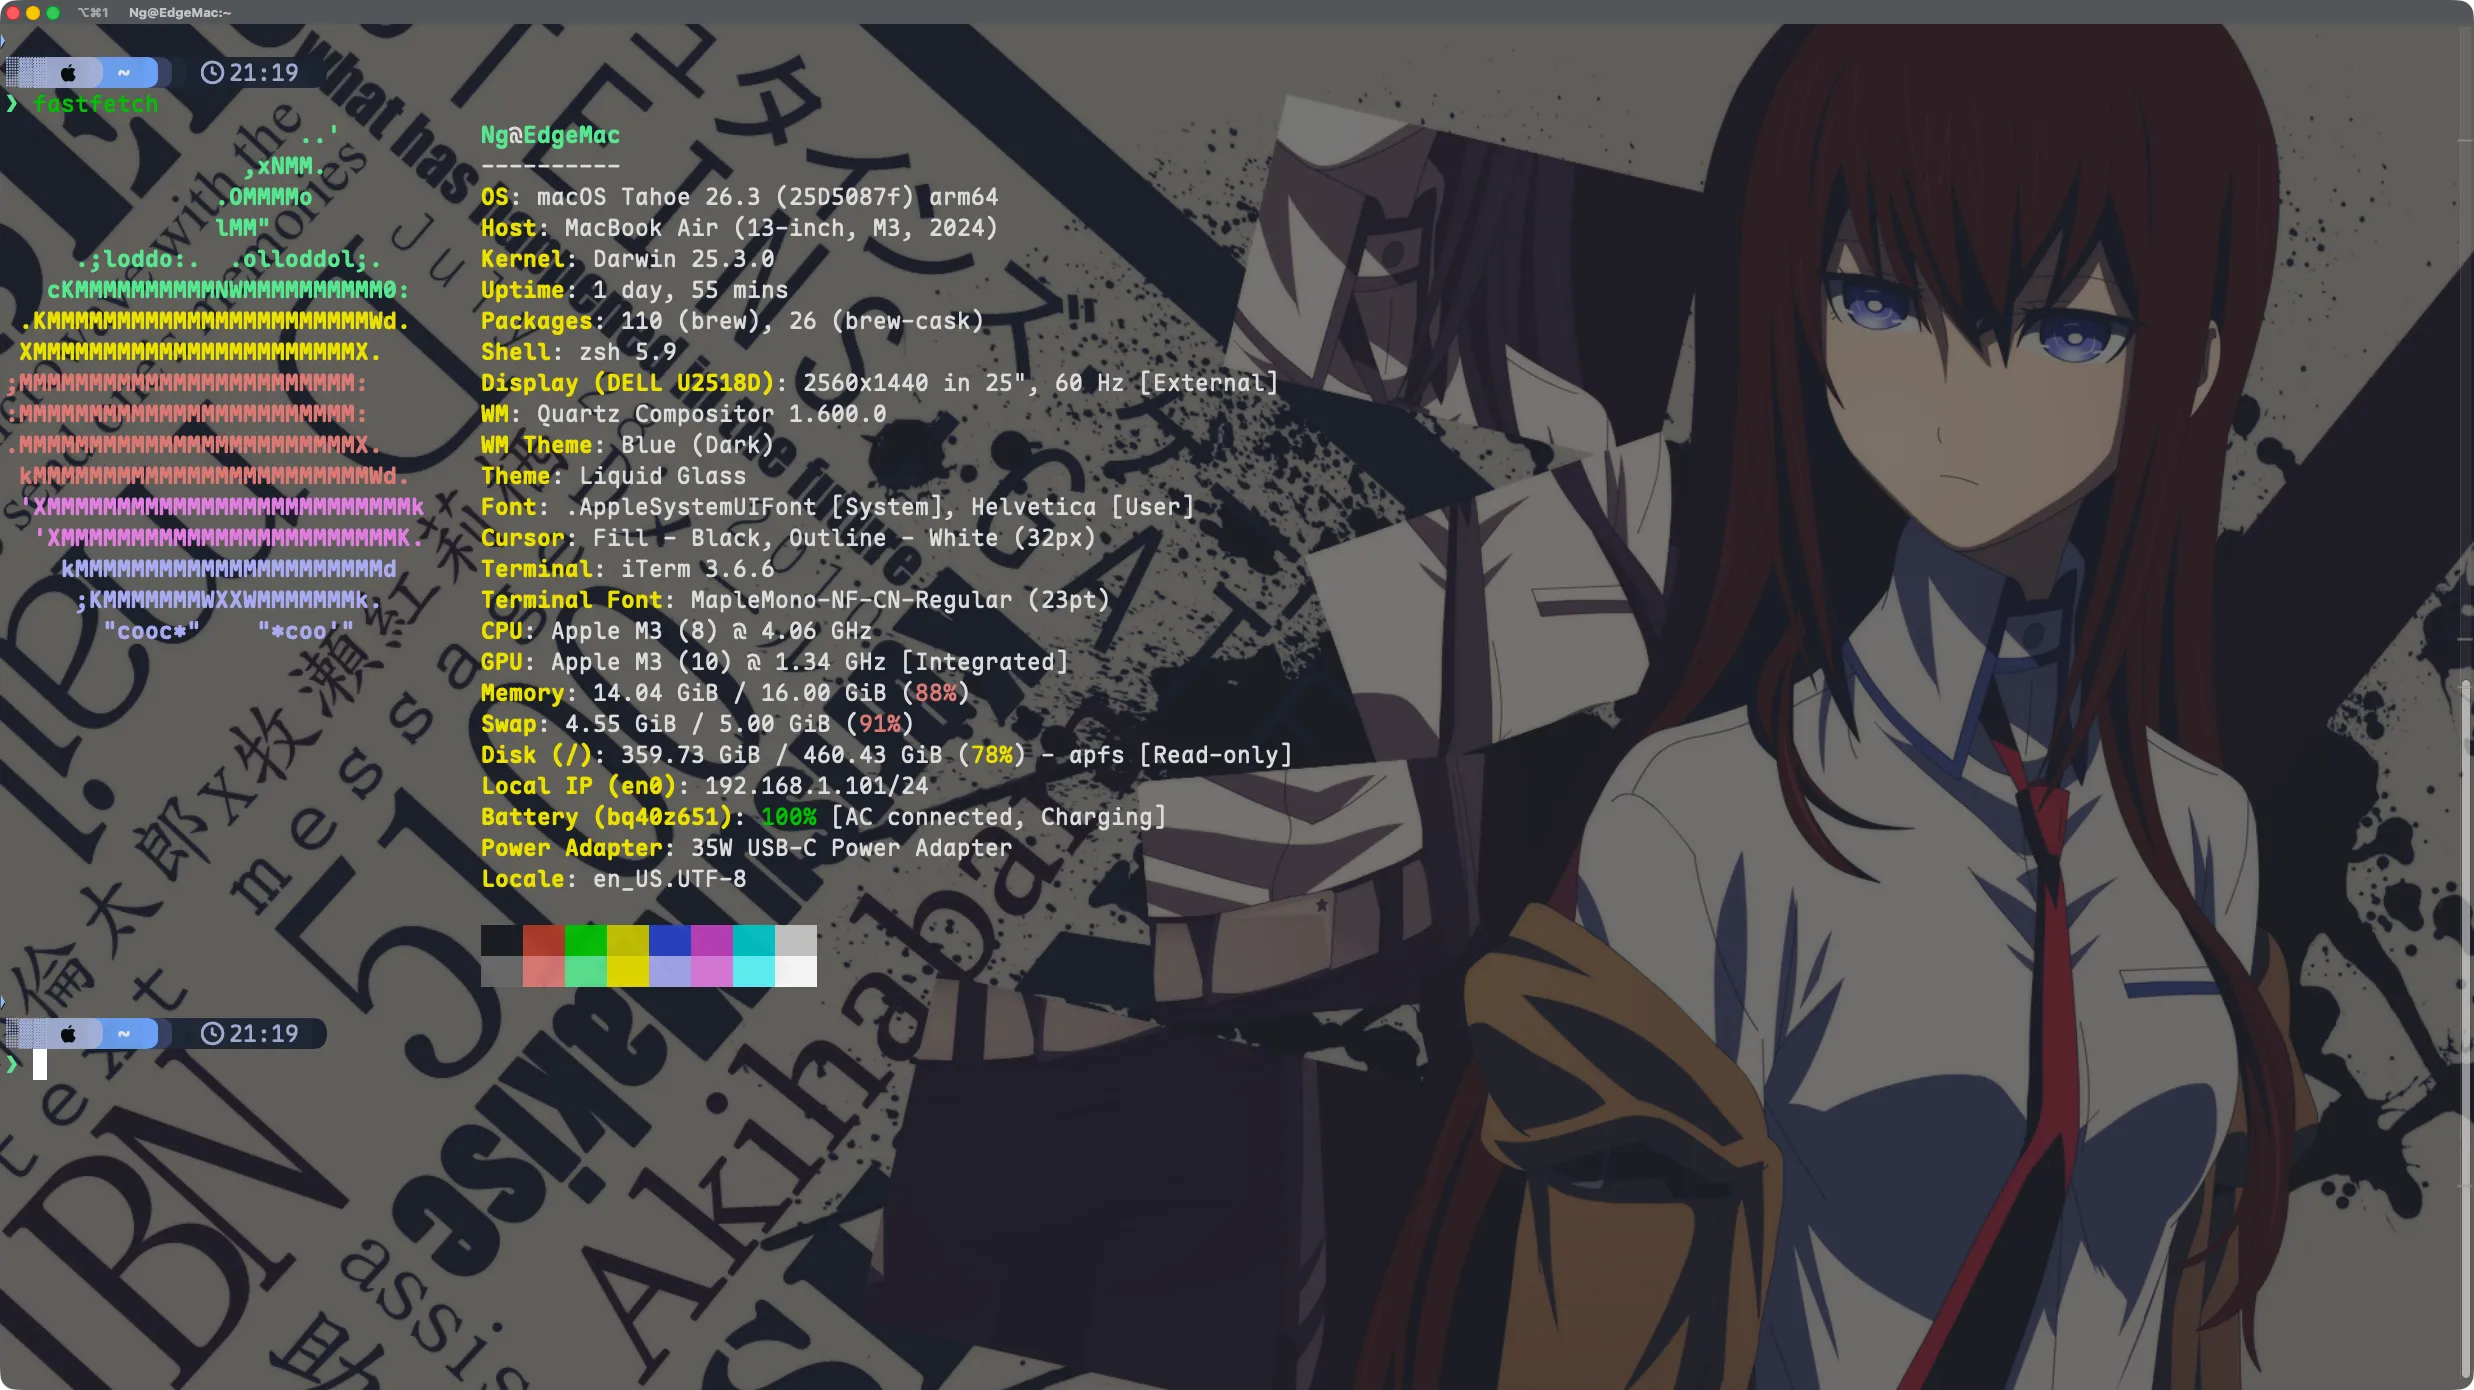
图同6.。
starship美化
- 安装
brew install starship - 在zsh配置文件(~/.zshrc)的末尾添加
eval "$(starship init zsh)" - 使用自定义主题或预设主题 个人使用Tokyo Night Preset
starship preset tokyo-night -o ~/.config/starship.toml
- 安装
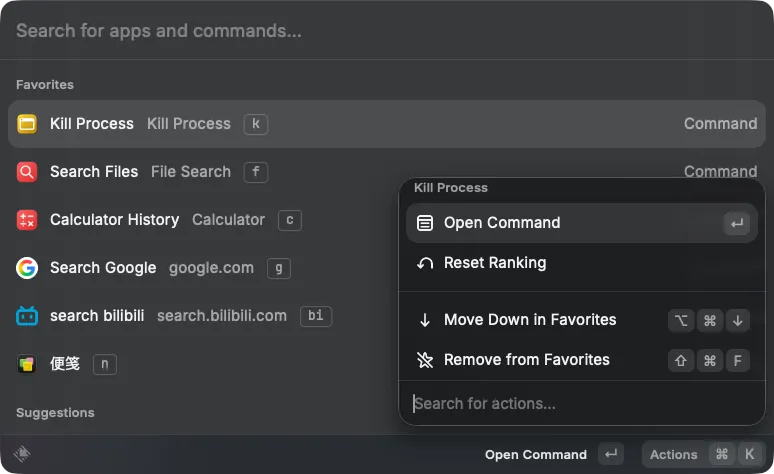
raycast-强大可扩展的快速启动器
- 关闭系统自带聚焦,“cmd + space” 快捷键启动raycast
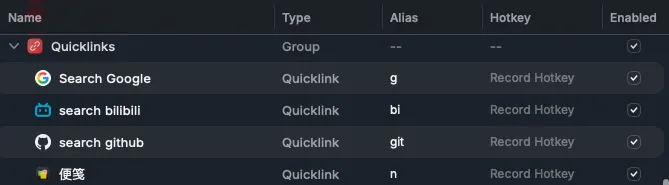
- 设置quicklinks,以及Alias,快速调出搜索
- 设置favorites
aerospace-桌面窗口平铺管理工具
- 安装
brew install --cask nikitabobko/tap/aerospace配置文件讲解
- 搭配borders使用(对当前激活窗口边框高亮)
after-startup-command = ['exec-and-forget borders active_color=0xffe1e3e4 inactive_color=0xff494d64 width=5.0 hidpi=true style=round']- 删除F工作区(与Karabiner-Elements快捷键冲突)
persistent-workspaces = ["1", "2", "3", "4", "5", "6", "7", "8", "9", "A", "B","C", "D", "E","F"(删除),"G", "I", "M", "N", "O", "P", "Q","R", "S", "T", "U", "V", "W", "X", "Y", "Z"]alt-f = ‘workspace F’alt-shift-f = ‘move-node-to-workspace F’- 调整边距
inner.horizontal = 10 inner.vertical = 10 outer.left = 10 outer.bottom = 10 outer.top = 10 outer.right = 10- 添加全屏快捷键
alt-f = 'fullscreen'- 手风琴”alt+,“,平铺”alt+/”
- 系统(临时启动)应用默认用floating,即不服从aerospace管理
# 访达 Finder
[[on-window-detected]]
if.app-id = 'com.apple.finder'
run = 'layout floating'
可用以下命令查看应用id
osascript -e 'id of app "finder"'- 多屏幕使用时强制分配工作区给显示器
[workspace-to-monitor-force-assignment]
 C = 'dell'   #代码
 Q = 'dell'   #qq微信
 7 = 'dell'
 8 = 'dell'
 9 = 'dell'
 M = 'built-in'       # 工作区 M 留给笔记本自带屏##
karabiner-elements-Hyper按键映射,全局vim光标移动
- 安装
brew install karabiner-elements- 导入配置文件
主要做的就是把caps lock映射成Hyper键(Ctrl+Alt+Shift+Cmd)
ps:切换输入法请自行换成shift
按住Hyper+H/J/K/L vim式上下左右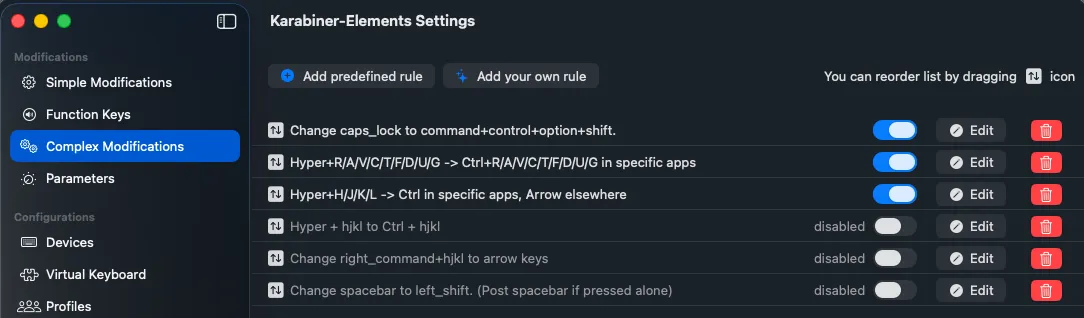
homerow-vim式全局跳转与滚动
- 安装
brew install homerow- 主要就是可以自己设置快捷键实现无鼠标操作
个人设置: